In this step-by-step video tutorial, we will guide you through the process of installing a Blum hinge restrictor on a Blum Framed Cabinet Hinge. The hinge restrictor is a handy accessory that limits the opening angle of cabinet doors, preventing any damage to the door or adjacent objects. Let’s get started:
Step 1
Gather the tools and materials you’ll need for the installation. You’ll require a screwdriver, a pencil, and the Blum hinge restrictor kit, which includes the restrictor itself and the necessary screws.
Step 2
Open the cabinet door to its maximum opening angle. This will be the position where you want the restrictor to engage and limit the door’s opening.
Step 3
Take the restrictor and place it on the backside of the cabinet door, aligning it with the edge where the hinge is attached. Mark the position of the restrictor with a pencil.
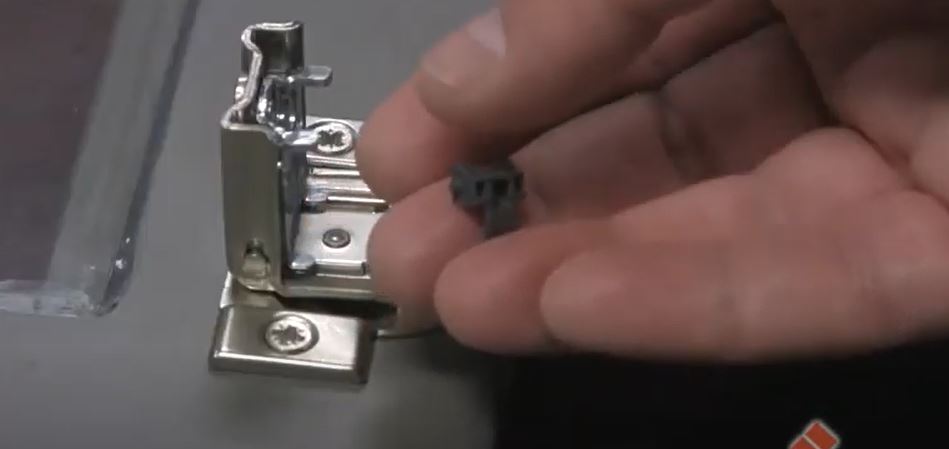
Step 4
Next, grab your screwdriver and begin securing the restrictor in place with the provided screws. Make sure to fasten it firmly, but not too tight to allow for smooth operation.
Step 5
Repeat the same process for the other cabinet doors if you wish to install hinge restrictors on multiple doors.
Step 6
Now, test the restrictor by opening the cabinet door. You’ll notice that it stops at the predetermined angle, preventing it from opening too far.
Congratulations! You’ve successfully installed a Blum hinge restrictor on your Blum Framed Cabinet Hinge. This simple addition will provide added convenience and protection for your cabinet doors and surrounding objects.
Remember, always follow the manufacturer’s instructions and safety guidelines when installing any hardware or accessories on your cabinets. If you’re unsure or uncomfortable with the installation process, it’s best to seek the assistance of a professional or consult with a cabinet expert.
With your newly installed hinge restrictors, you can enjoy the benefits of a controlled cabinet door opening while keeping your cabinets and surroundings safe and damage-free.